Many users know about the Disk Cleanup tool, but they don’t know how to use it. The Disk Cleanup utility is also available on Windows 11, and it can help you manage storage space on your system. It can remove the files that had been stored in the recycle bin for a long time, clean update installation files, and remove the junk files. Disk Cleanup is a great utility to free up storage space and improve the system’s performance. So, if you are experiencing performance issues while using your computer or have low storage space left, you should immediately run the Disk Cleanup utility on your Windows 11.
Steps to Use the Disk Cleanup Utility on Windows 11
Hence, this article will share two best methods to use the Disk Cleanup utility on Windows 11. So, let’s get started.
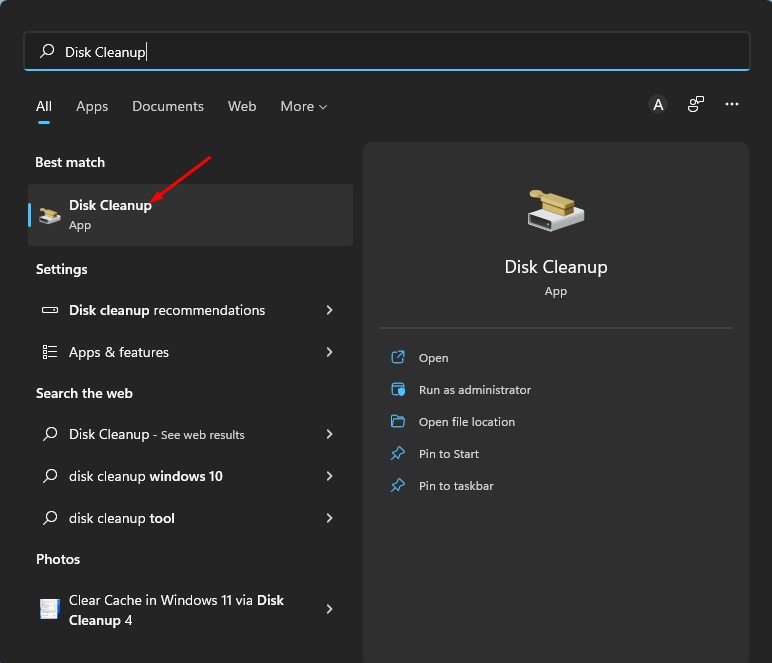
First of all, click on the Windows 11 search and type in Disk Cleanup. Next, open the Disk Cleanup from the list of results.
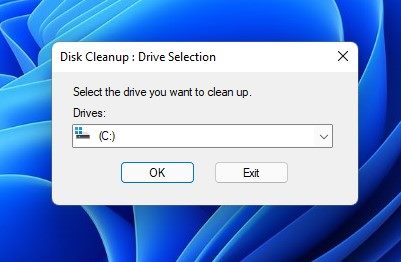
On the Disk Cleanup utility, you need to select the drive you want to clean. For example, here, we have chosen the C: Drive.
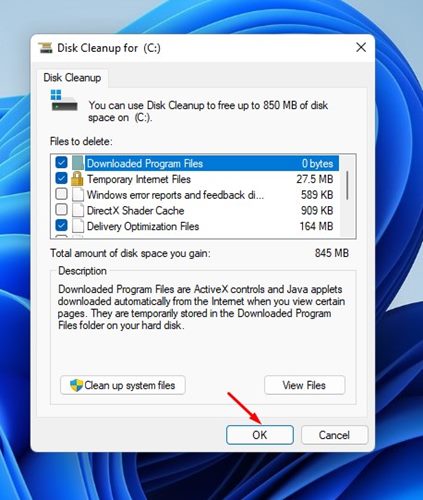
Once done, click on the Ok button. Now you will see all the files that were available to delete.
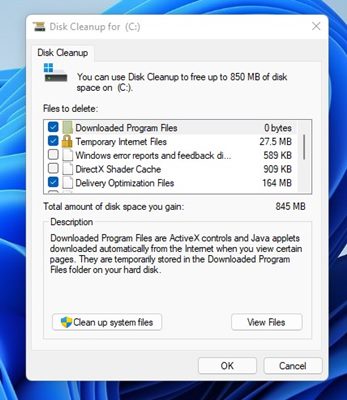
You need to scroll the list to view all the files. You need to select the files that you don’t use. Make sure to uncheck the files that you have no idea about.
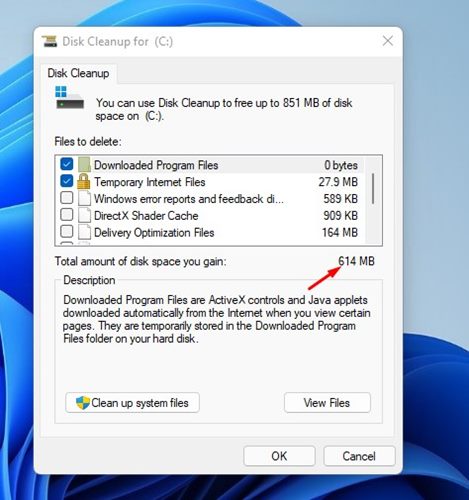
As you select multiple categories, you will also be notified of the amount of space you will gain.
After selecting the files, you need to click on the Ok button, as shown below.
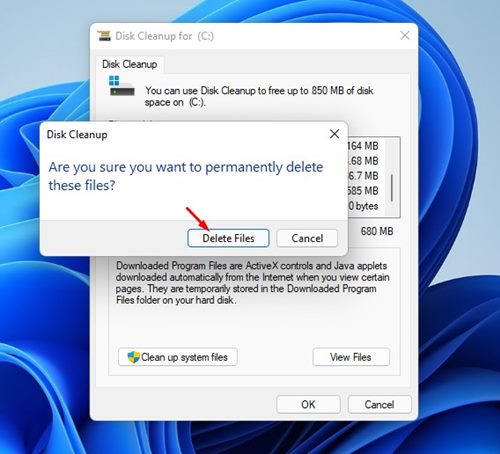
Now, on the Disk Cleanup confirmation prompt, click on the Delete Files button, as shown below.
That’s it! You are done. This is how you can use the Disk Cleanup utility on Windows 11 operating system.
Automatically Run Disk Cleanup Utility via Storage Sense
You can also configure the Storage sense feature on your Windows 11 computer to automatically run the Disk Cleanup utility. For that, you need to follow some of the simple steps we have shared below.
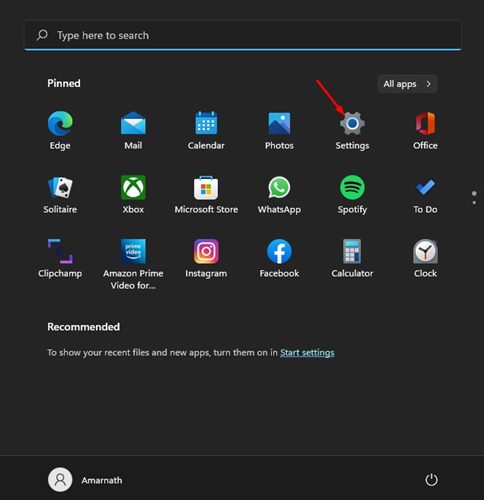
First of all, click on the Windows 11 Start button and select Settings.
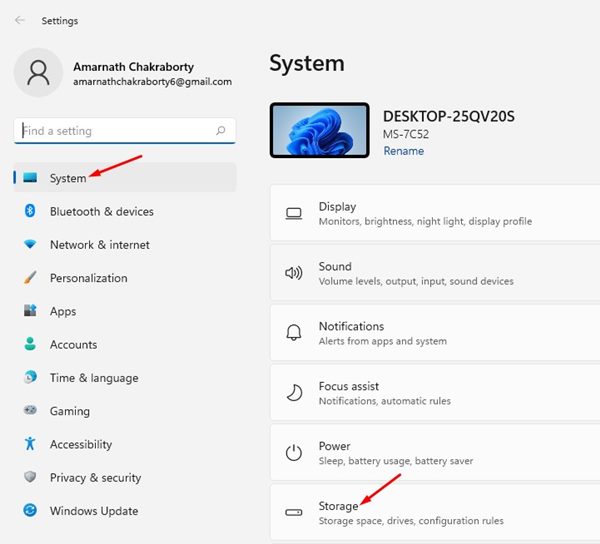
On the Settings page, click on the System. On the right, click on the Storage option.
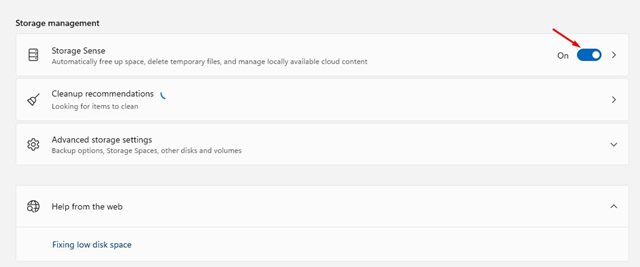
On the Storage page, scroll down and enable the Storage Sense option.
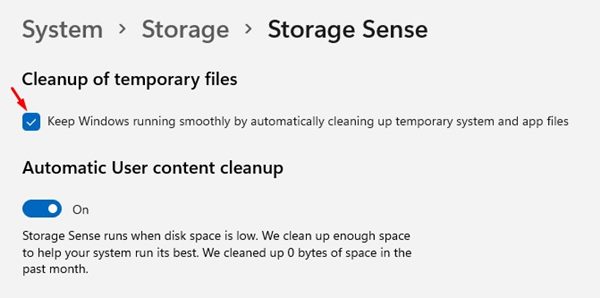
Next, click on the Storage Sense option, and on the next page, check the checkbox present under the Cleanup of Temporary files section.
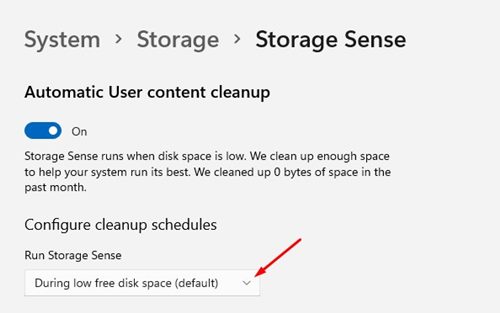
Now scroll down a bit and click on the drop-down menu underneath Run Storage sense. On the drop-down menu, select your preferred frequency.
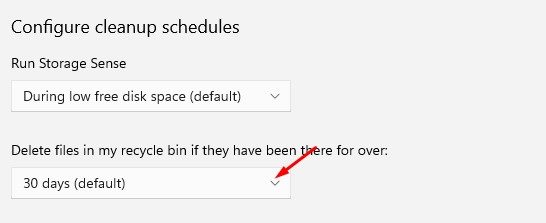
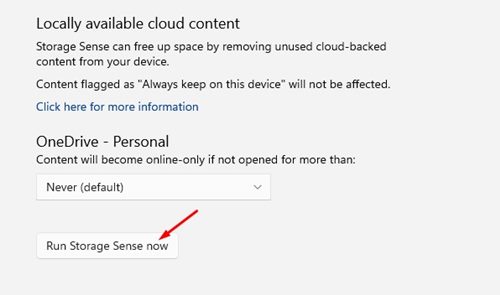
Similarly, you can configure the Storage sense feature to delete files stored in the recycle bin automatically after a number of days.
Other than that, you also get the ability to delete files stored in your Download Folder. For that, click on the drop-down menu for Delete files in my downloads folder and select the frequency.
If you want to free up space now, scroll down to the bottom and click on the Run Storage Sense now button.
That’s it! You are done. This is how you can configure Storage sense to free up storage space on Windows 11. It’s pretty easy to use the Disk Cleanup utility on Windows 11. I hope this article helped you! Please share it with your friends also. If you have any doubts related to this, let us know in the comment box below.